Ever found yourself in a DIY project with a hole that’s just a tad too small? Frustrating, isn’t it? You’re not alone. Whether it’s for a home improvement task or a craft project, needing a bigger hole can throw a wrench in your plans. But fear not, as we’ve got you covered with a simple solution: drilling that existing hole bigger.
Imagine having the power to effortlessly resize any hole to fit your needs without starting from scratch. It’s a game-changer, saving you time, effort, and the headache of redoing your work. In this article, we’ll walk you through easy-to-follow steps on how to expand a hole like a pro. Get ready to tackle your projects with confidence and precision.
Key Takeaways
- Enlarging an existing hole is a cost-effective solution that offers versatility, precision, and time-saving benefits.
- Understanding the need to drill a hole bigger can save resources and improve project outcomes.
- Essential tools for enlarging a hole include a drill machine, drill bits, safety gear, clamps, measuring tools, lubricant, and cleaning supplies.
- The step-by-step guide emphasizes checking the existing hole, gathering tools, securing the workpiece, choosing the correct drill bit, marking the area, lubrication, and drilling techniques.
- Safety precautions, workspace preparation, tool selection, lubrication, drilling techniques, and cleanup are crucial for drilling large holes safely and efficiently.
- Enlarging an existing hole enhances versatility, alignment, efficiency, and project success while offering a cost-effective and environmentally friendly solution.
Understanding the Need to Drill an Existing Hole Bigger
When you find yourself stuck with a hole that’s too small for your needs, it can be quite frustrating. But before starting from scratch, understanding why you need to drill an existing hole bigger can save you time and effort.
Cost-Efficiency:
Expanding an existing hole is a cost-effective solution that eliminates the need to purchase additional materials for a new hole. It saves you money by repurposing what you already have on hand.
Versatility and Convenience:
By enlarging a hole, you increase its versatility, allowing it to accommodate different sizes or types of fittings or fasteners. This flexibility can be especially handy in various DIY projects.
Precision and Accuracy:
In some cases, enlarging a hole ensures a more precise fit for specific components, avoiding misalignments or gaps. It helps achieve a professional finish without compromising on quality.
Time-Saving:
Drilling an existing hole bigger saves you time compared to starting over. This quick solution lets you continue your project without the delays involved in creating a new hole from scratch.
Accessibility:
Expanding a hole gives you access to retrofit or modify existing installations without major disruptions. It simplifies upgrades or alterations by providing a straightforward way to adjust hole sizes.
Adaptability:
Being able to resize a hole empowers you to adapt to changing project requirements on the go. It provides you with the flexibility to modify your initial plans without significant setbacks.
Understanding why you may need to drill an existing hole bigger equips you with the knowledge to approach your projects with confidence and efficiency. By recognizing the benefits of resizing a hole instead of starting anew, you can save resources and tackle your DIY tasks with ease.
Tools Required for Drilling a Hole Larger
To successfully enlarge an existing hole for your DIY projects, you’ll need a specific set of tools. Here are the essential tools you should have on hand before you begin the drilling process:
Recommended Products

135 Degree Split point tip design to help reduce walking
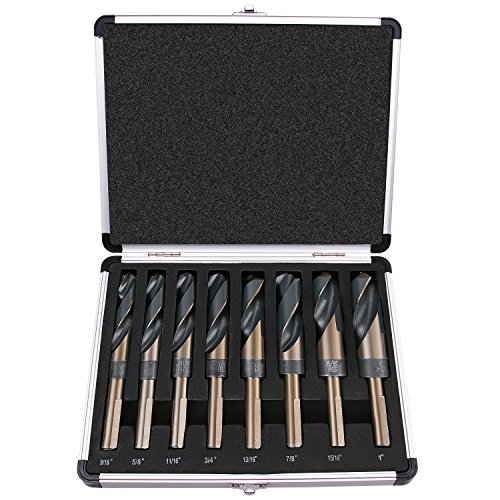
▲ PREMIUM QUALITY - Industrial grade M2 cobalt high speed steel construction for proven capability and durability to drill holes in wood, plastic, aluminum, copper, cast iron, mild steel, stainless steel, sheet metal and more
Connectable accessory storage system to optimize storage space of the drill bits set
1. Drill Machine
You’ll need a high-quality drill machine suitable for the material you are working with. Ensure it’s compatible with the drill bit size you intend to use for enlarging the hole.
2. Drill Bits
Select the appropriate drill bits that are larger than the current hole size. Having a range of bit sizes allows you to achieve the desired diameter for the enlarged hole.
3. Safety Gear
Safety should always be a priority when working with tools. Wear safety goggles to protect your eyes from debris and gloves to keep your hands safe during the drilling process.
4. Clamps or Vise
Securing the workpiece in place with clamps or a vise prevents it from moving while you drill, ensuring precision and safety.
5. Measuring Tools
Accurate measurements are crucial when enlarging a hole. A measuring tape or ruler will help you determine the current hole size and the required enlargement.
6. Masking Tape
Using masking tape to mark the desired final hole size on the workpiece helps guide you during the drilling process, ensuring you enlarge the hole to the correct dimensions.
7. Lubricant
Depending on the material you are drilling into, a lubricant like cutting oil or WD-40 can help reduce friction and heat generated during the drilling process, prolonging the life of your drill bits.
8. Cleaning Supplies
Have cleaning supplies such as a brush or a vacuum on hand to clear away debris and dust generated while enlarging the hole.
Having the right tools for the job and following safety precautions will ensure a successful and efficient process of enlarging an existing hole for your next DIY project.
Step-by-Step Guide on Enlarging an Existing Hole
To enlarge an existing hole effectively for your DIY project, follow these step-by-step instructions:
Recommended Products

HSS Titanium Coating: The step drill has excellent sharpness and durability due to its high speed steel material and titanium coating

Includes 10 Step Sizes: 1/4", 3/8", 1/2", 5/8", 3/4", 7/8", 1", 1-1/8", 1-1/4", 1-3/8"
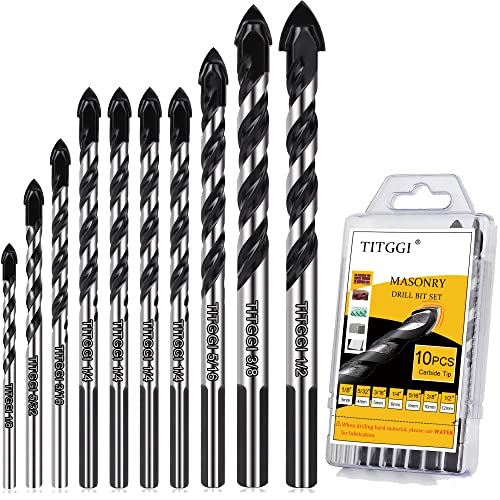
HIGH QUALITY DRILL BIT SET; TITGGI Masonry drill bit set, industrial strength carbide drill bit tip, excellent abrasion resistance, make the drilling much more easier. this cement drill bits can easily penetrate various material (glass, ceramic, cement, wood, brick, travertine, hard plastic, etc.)
Check the Existing Hole
- Inspect the current hole to determine the desired size you want to achieve.
- Ensure that enlarging the hole won’t compromise the integrity of the surrounding material.
Gather Your Tools
- Gather the necessary tools: a drill machine, drill bits of appropriate size, safety gear like goggles and gloves, clamps or a vise to secure the workpiece, measuring tools, masking tape to mark the area, lubricant for smoother drilling, and cleaning supplies.
- Having the right tools ready will streamline the process.
Secure the Workpiece
- Clamp the workpiece securely in place using clamps or a vise to prevent it from moving during drilling.
- Ensuring the stability of the workpiece will lead to more precise results.
Choose the Correct Drill Bit
- Select a drill bit that matches the desired new hole size.
- Using the right drill bit is crucial for achieving the perfect enlargement.
Mark the Enlarged Area
- Use masking tape to mark the boundaries of the new hole size.
- This step helps you maintain accuracy while drilling.
Lubricate the Drill Bit
- Apply lubricant to the drill bit to reduce friction during drilling.
- Lubrication can make the process smoother and prevent overheating.
Start Drilling
- Position the drill bit at the marked area.
- Begin drilling at a slow and steady pace to avoid splintering or damaging the surrounding material.
- Increase the drilling speed gradually as needed until reaching the desired hole size.
- Once you’ve achieved the right size, clean the area to remove any debris.
- Cleaning up ensures a neat finish to your project.
Follow these steps carefully to enlarge an existing hole confidently and efficiently for your next DIY task. Remember to prioritize safety throughout the process by wearing appropriate gear and handling tools with care.
Tips for Drilling Large Holes Safely and Efficiently
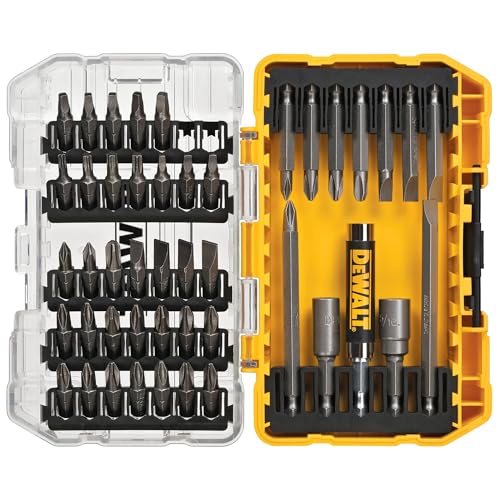
Recommended Products

Titanium Nitride Coating Pilot Point for Longer Life

DEWALT 21-pack black oxide twist drill bit set is ideal for general-purpose drilling materials like metal, hardwood, softwood, PVC and fiberglass

100-piece drill and driver multi-bit set; ideal for metal, wood, plastic, masonry, and hole saws
Prepare Your Workspace:
Clear the area around the hole of any obstructions. Ensure the workpiece is firmly secured using clamps or a vise to prevent movement. This stability will help you drill accurately and safely.
Choose the Right Tools and Drill Bit:
Select the appropriate drill machine and drill bit for the material you’re working with—using the wrong tools can lead to ineffective drilling or damage. A sharp, high-quality drill bit ensures cleaner and more precise holes.
Wear Proper Safety Gear:
Prioritize your safety by wearing protective gear like safety goggles, gloves, and a dust mask. This equipment will safeguard you from potential hazards such as debris or flying particles during drilling.
Mark the Drilling Area:
Use masking tape or a pencil to mark the spot where you’ll be drilling. This marking serves as a guide, helping you maintain accuracy and prevent accidental drilling in the wrong area.
Lubricate the Drill Bit:
Apply a suitable lubricant to the drill bit before starting. Lubrication reduces friction, allowing the drill to move smoothly through the material and extending the life of your drill bit.
Drill Slowly and Steadily:
Avoid rushing the drilling process. Apply gentle pressure while drilling and keep a steady hand to maintain control. Slow, consistent drilling prevents overheating and ensures a cleaner hole.
Clean Up After Drilling:
Once you’ve enlarged the hole, clean the area to remove any debris or dust left behind. A clean workspace promotes safety and prevents potential damage to your tools or materials.
Test the Enlarged Hole:
After drilling, test the size of the hole to ensure it meets your requirements. This step helps you verify the accuracy of the drilling process and make any necessary adjustments if needed.
Advantages of Enlarging an Existing Hole
Enlarging a small hole can present several benefits for your DIY projects.
Enhanced Versatility
When you enlarge an existing hole, you increase its versatility. You can accommodate larger fasteners, cables, or pipes, making your projects more adaptable to various needs.
Improved Alignment
Resizing a hole allows for better alignment with other components or structures, ensuring a precise fit. This alignment is crucial for stability and functionality in your projects.
Correcting Errors
If the initial hole was drilled in the wrong location or at the incorrect size, enlarging it offers a quick solution to correct the mistake without starting over. It saves time and materials.
Greater Efficiency
Enlarging a hole instead of creating a new one saves time and effort. You’ll avoid unnecessary work and maintain a cleaner, more professional finish in your project.
Cost-Effective Solution
By utilizing an existing hole and enlarging it to suit your needs, you reduce material waste and overall project costs. This cost-effective approach is beneficial for DIY enthusiasts looking to optimize resources.
Enhanced Project Success
Successfully enlarging an existing hole demonstrates your problem-solving skills in DIY projects. It reflects efficiency, precision, and the ability to adapt, leading to more successful outcomes in your endeavors.
Embracing the advantages of enlarging an existing hole can significantly enhance the effectiveness and efficiency of your DIY projects.
Conclusion
You’ve learned how to tackle the challenge of enlarging small holes during your DIY projects. By understanding the benefits of resizing holes and the tools needed for the job, you can enhance versatility, improve alignment, correct errors, and boost efficiency. Embracing these advantages not only saves time and money but also increases the success rate of your projects. Following the steps provided ensures that you can confidently and safely enlarge existing holes, showcasing your problem-solving skills and achieving better outcomes. Keep these tips in mind for your future projects to make the most out of your DIY endeavors.
Frequently Asked Questions
1. Why would I need to enlarge a small hole during a DIY project?
Enlarging a hole can improve versatility, alignment, and project success. It allows for error correction, greater efficiency, and cost-effectiveness.
2. What tools do I need to drill a hole larger?
You’ll need a compatible drill bit, safety gear like goggles and gloves, and a steady hand for precision.
3. How can enlarging a hole help with DIY projects?
It enhances versatility, alignment, error correction, efficiency, cost-effectiveness, and overall project success.
4. What are the benefits of resizing a hole?
Improved alignment, enhanced versatility, error correction, cost-effectiveness, greater efficiency, and higher project success rates.